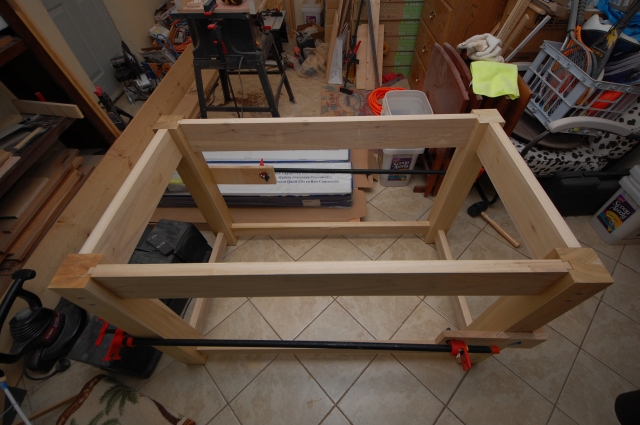
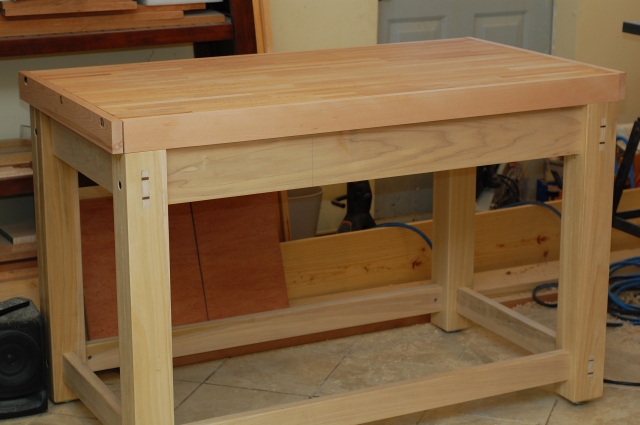
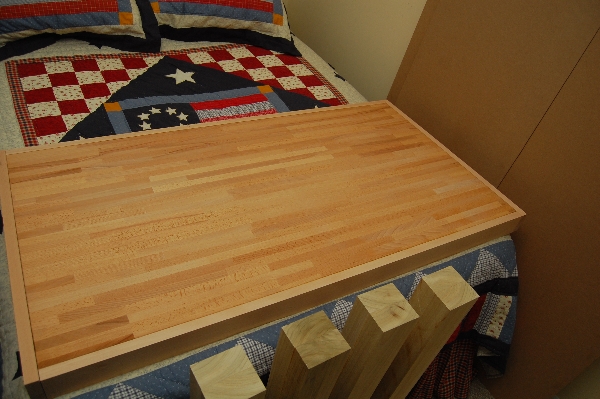
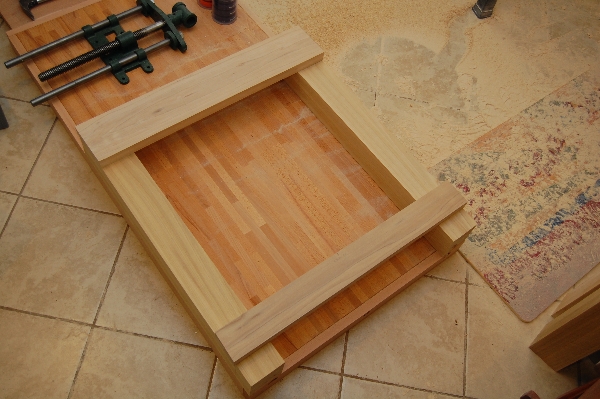
Last time, I had finished assembly of the benchtop but had neglected to get any pictures of it right-side up. I moved it onto the bed in the spare bedroom near my work area to make room for sizing up the leg stock.
I purchased poplar for the base of the bench since it is relatively inexpensive. I read something recently about poplar not being a good choice for a workbench base (not sure what the reasoning was), but I have already purchased it and done much of the sizing of parts from it. I’ll see how it works and can always replace it later if there is some issue with it. It has to be better than not having a bench at all!
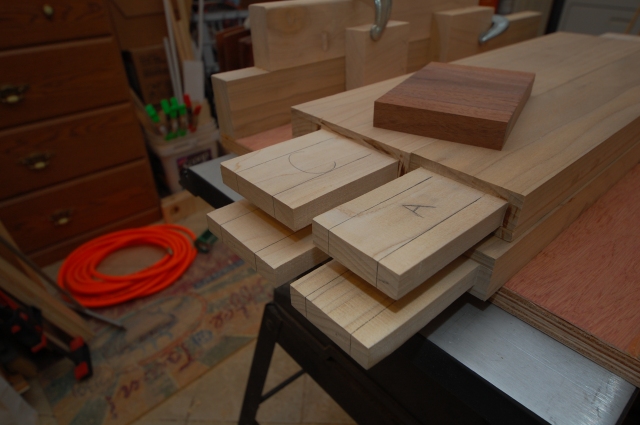
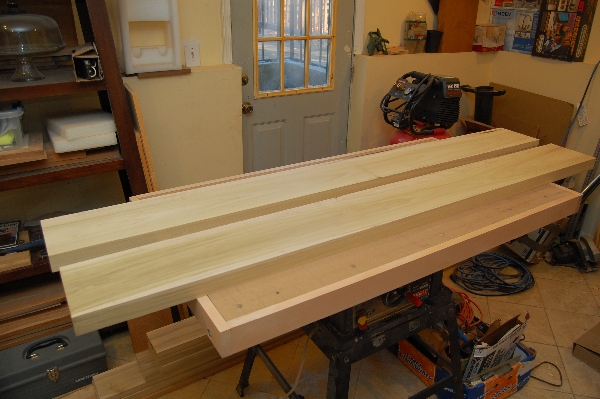
Here are the two boards that I milled up the leg stock from:
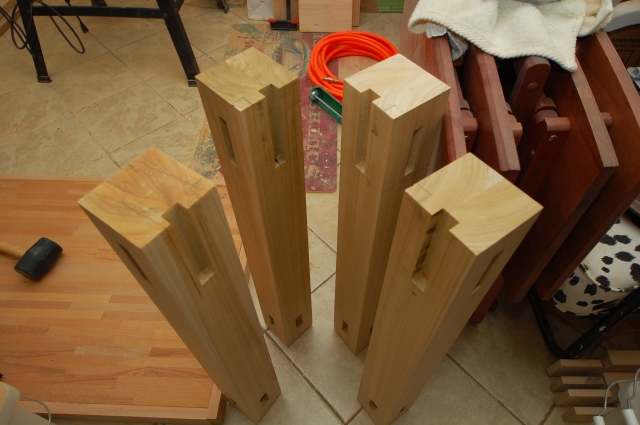
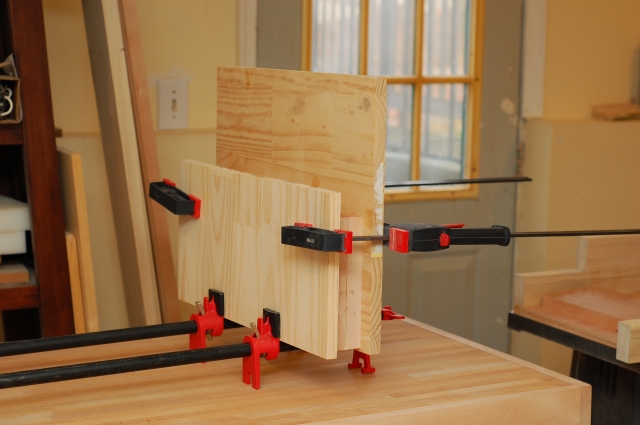
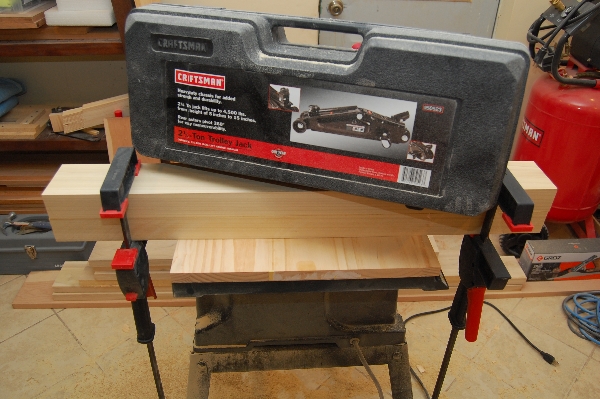
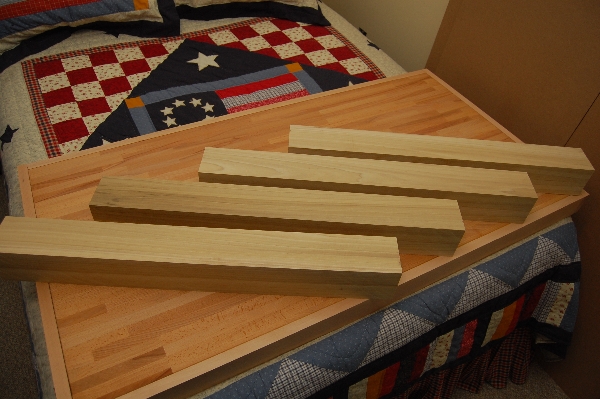
To make the legs square, I ripped the stock to twice it’s thickness and crosscut to length to get 8 pieces. Gluing pairs of these pieces face to face gave me the four legs:
With some careful alignment during the glue-up, all that was needed was to scrape off the glue squeeze-out and some light card scraping of the joints to finish up the four legs:
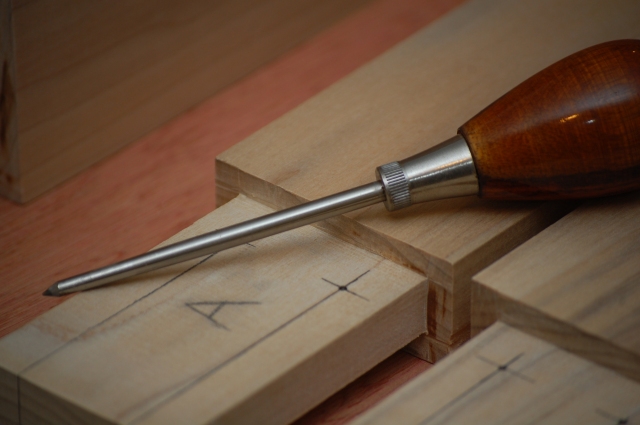
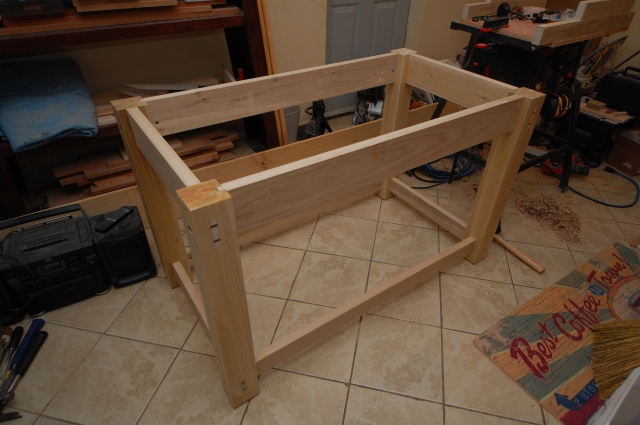
Even though I won’t be moving the bench often once it is complete, I still want to be able to break it down for easier transport. The base will be made up of two end assemblies with knock down stretchers along the length of the bench. Each of the end assemblies will consist of two legs and an upper and lower stretcher, joined by through mortise and tenon. Here I’m laying out the locations of the stretchers on the legs and marking the length of the tenons.
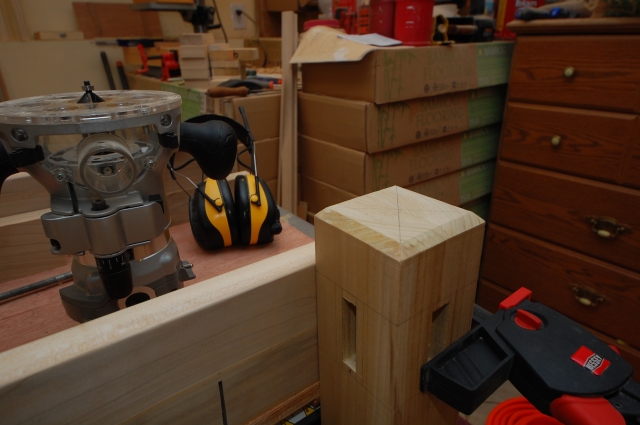
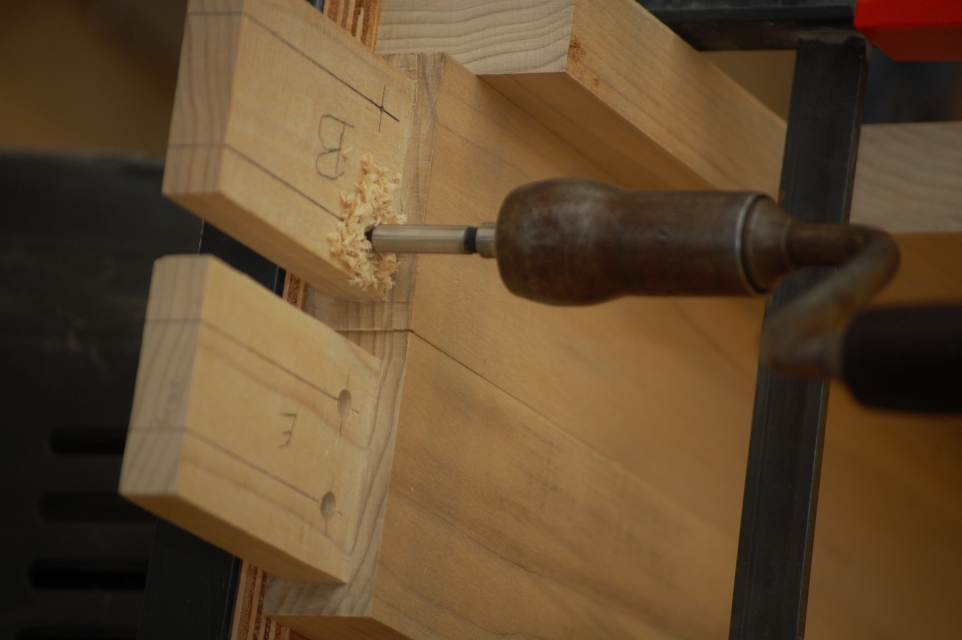
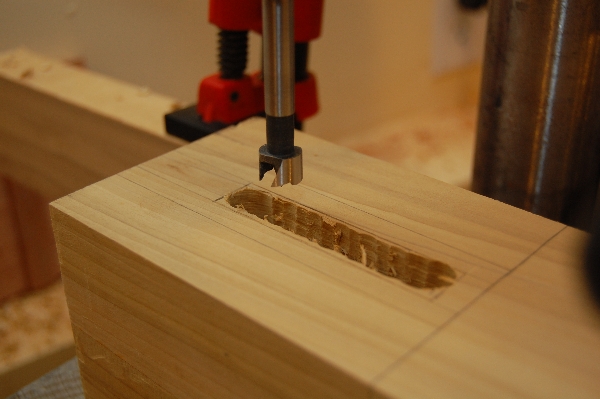
The through mortises are made first on the drill press to hog out most of the material, then using chisels to square them up.
The tenons are cut on the tablesaw – no jigs, no sleds, no dado stacks – I just use the miter gauge at 90 degrees to the blade and keep nibbling away at the waste until a tenon is left. The top stretcher’s tenons are offset to align the top of the stretcher with the top of the legs and keep the mortise wall above the tenon from getting too fragile. Here is one set of legs and stretchers with the joinery cut:
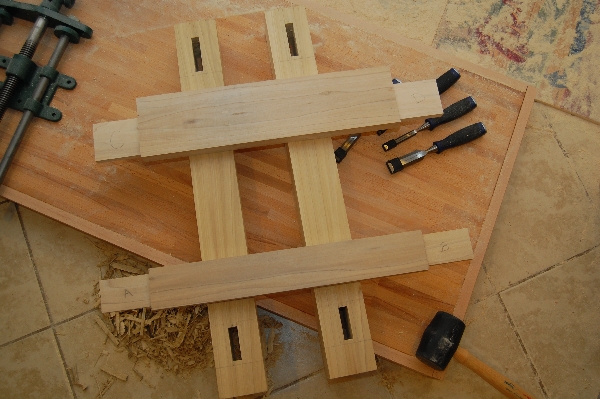
I mark each piece with indications of orientation and each component of a joint with matching marks just to ensure that I can remember how to assemble everything.
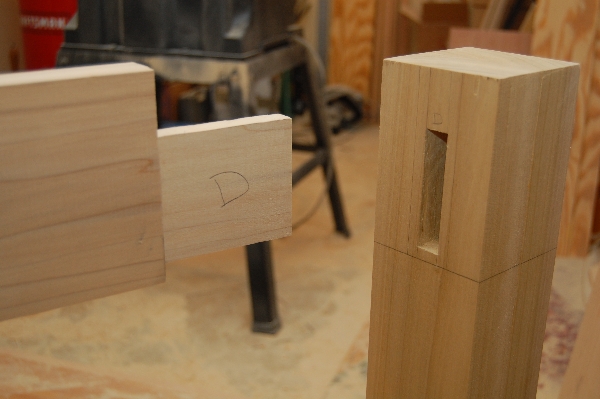
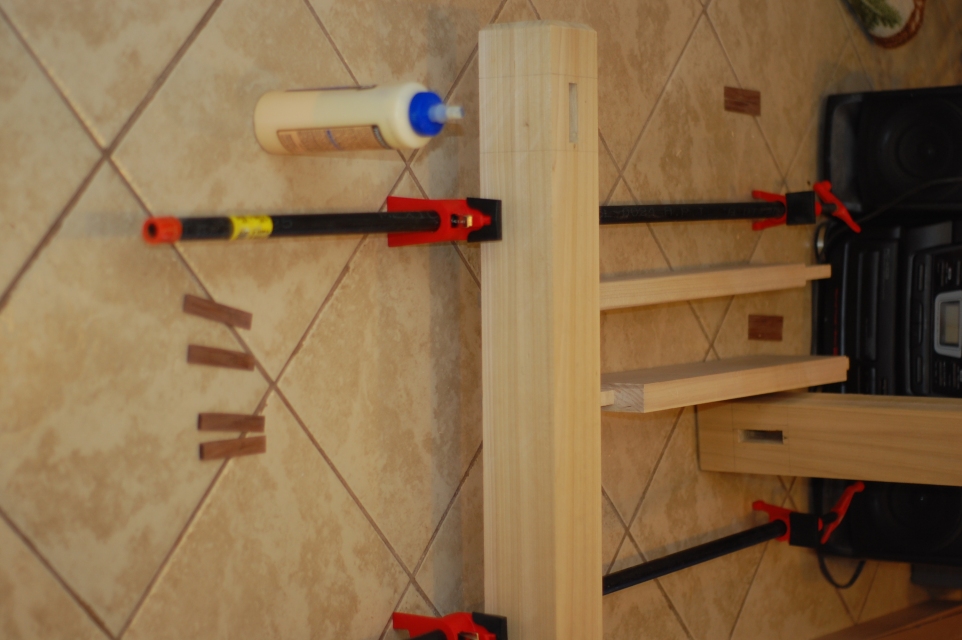
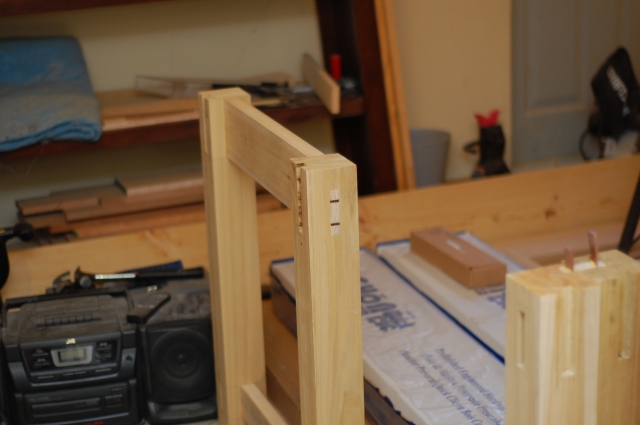
A dry-fit of one leg assembly:
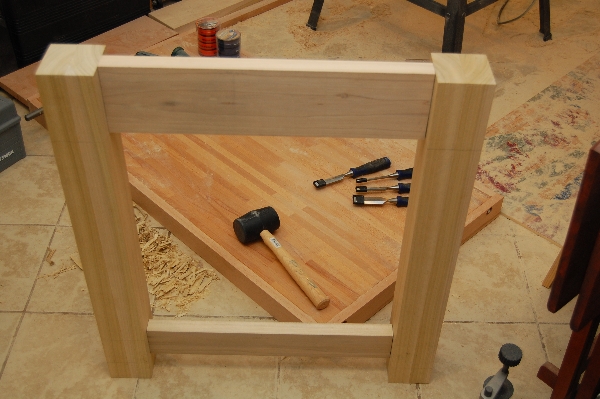
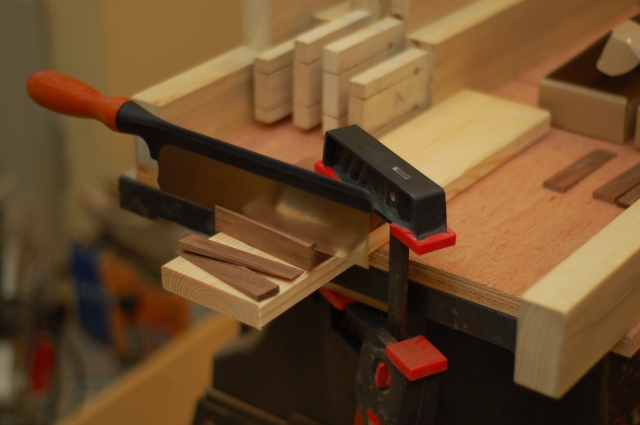
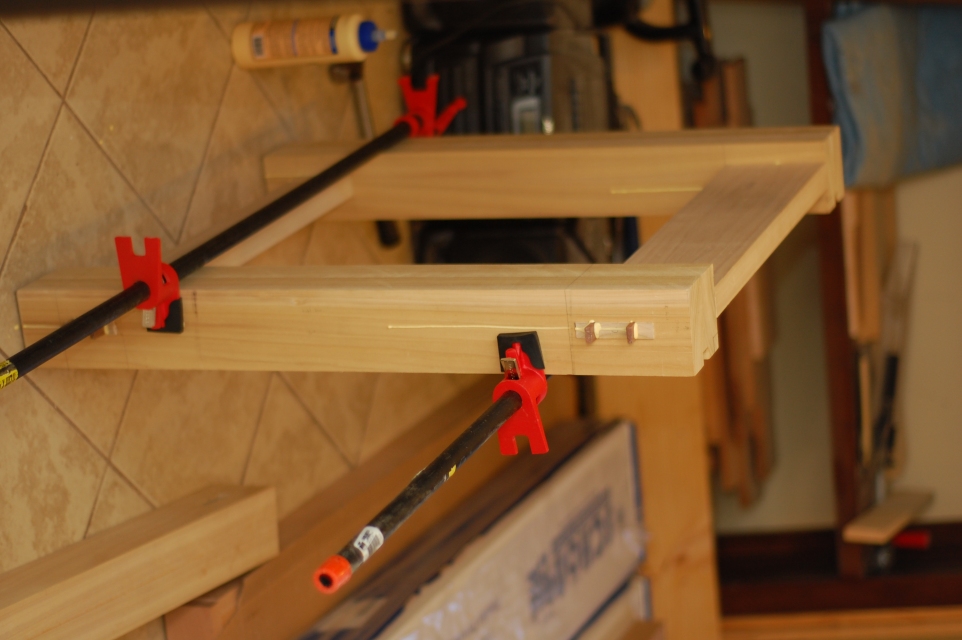
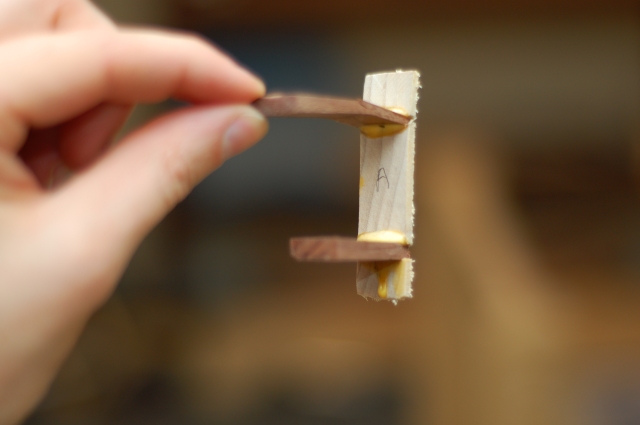
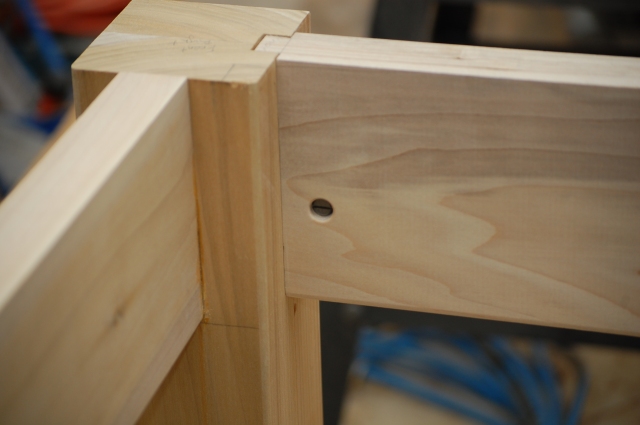
I plan to wedge these tenons during final assembly to help ensure a snug fit and add a decorative touch.
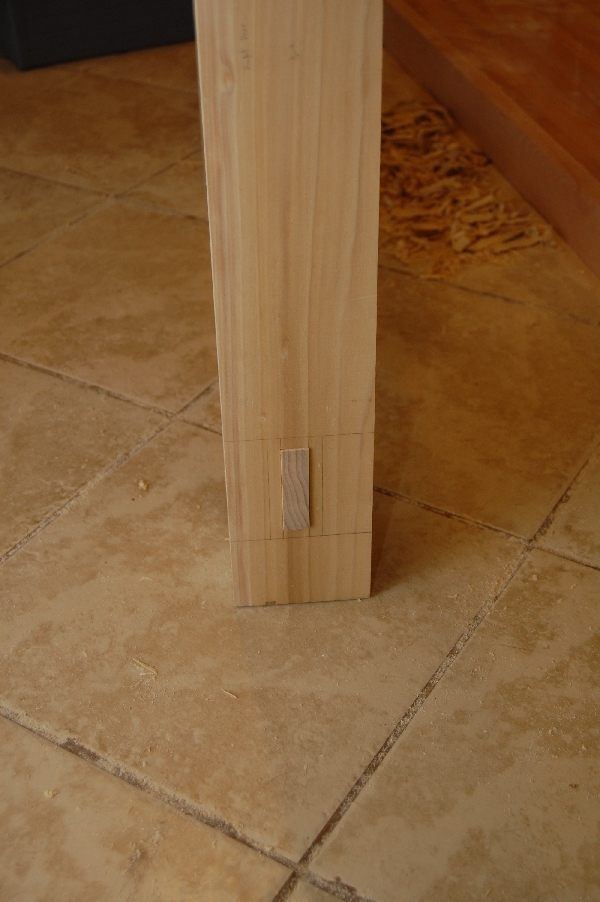
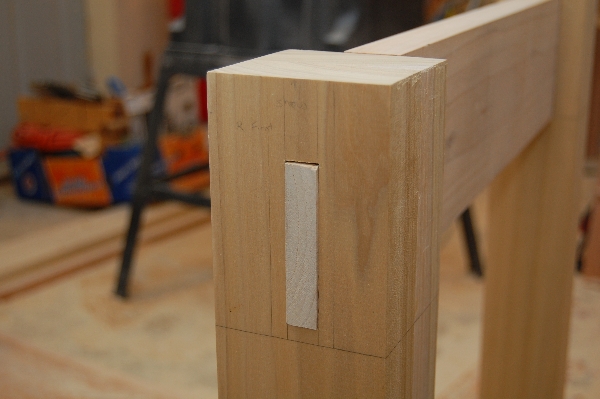
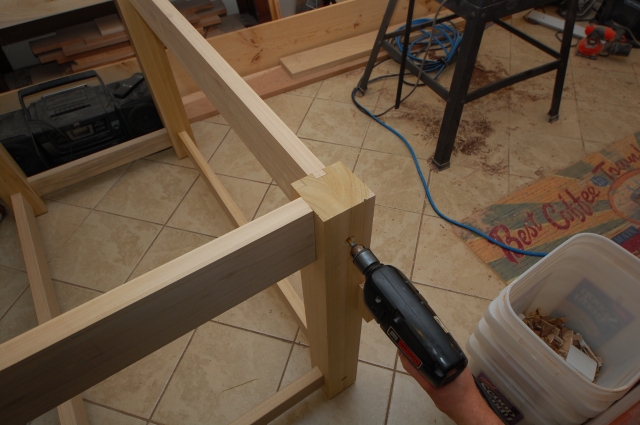
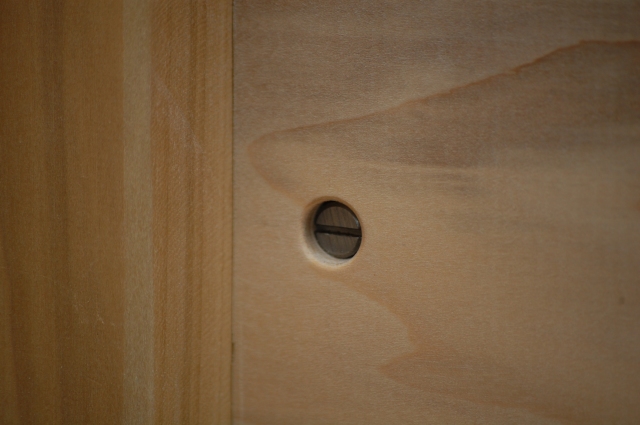
I still have to layout and cut some of the joinery for the knock-down stretchers and leg levelers before I can glue up the leg assemblies. More on that to come…
